
Software

Best Ways to Keep Your Mac Safe from Browser Hijackers
Website hijacking disrupts your browsing experience and exposes you to many device and data security vulnerabilities. Hackers inject hijack malware,...
Read more
The Hidden Costs of Web Scraping
Web scraping is an essential tool for businesses and researchers, enabling large-scale data extraction from websites. However, many overlook the...
Read more
How to Choose the Best Meeting Room Reservation Software for Your Office
Choosing how to choose the best meeting room reservation software for your office is crucial for enhancing productivity and avoiding...
Read more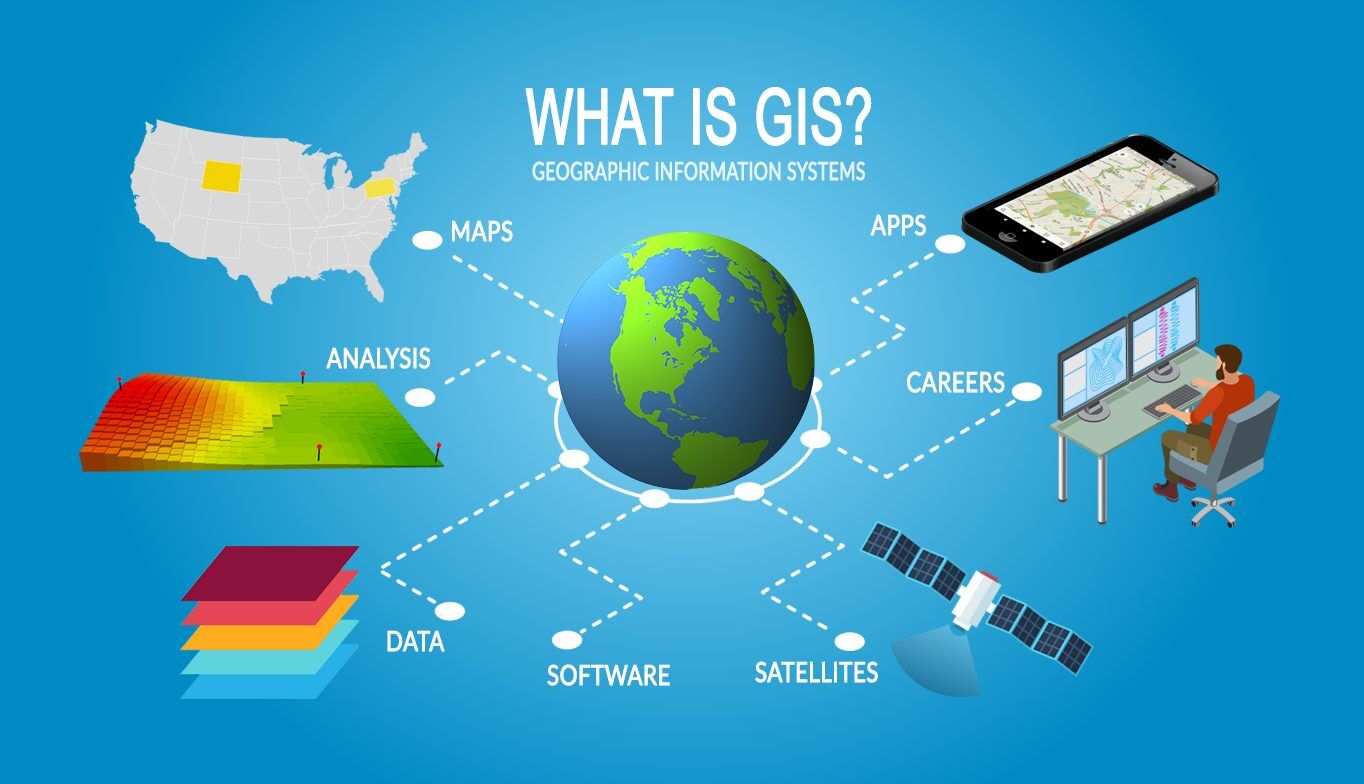
Exploring Different Types Of GIS Software
GIS software (or Geographic Information Systems software) is a powerful tool that helps people visualize, analyze, and manage geographic data....
Read more